
A good seasonal cleaning can make your patio, walkway or driveway look new again. However, knowing how to pressure wash pavers correctly is essential to removing dirt, pollen, algae and mildew without damaging the surface or joint sand.
Many people assume all they need is a pressure washer to do the trick. Although using a pressure washer is a much faster and more effective way to clean your pavers, incorrect use is one of the easiest ways to damage the surface and installation.
How to Pressure Wash Pavers Without Causing Damage
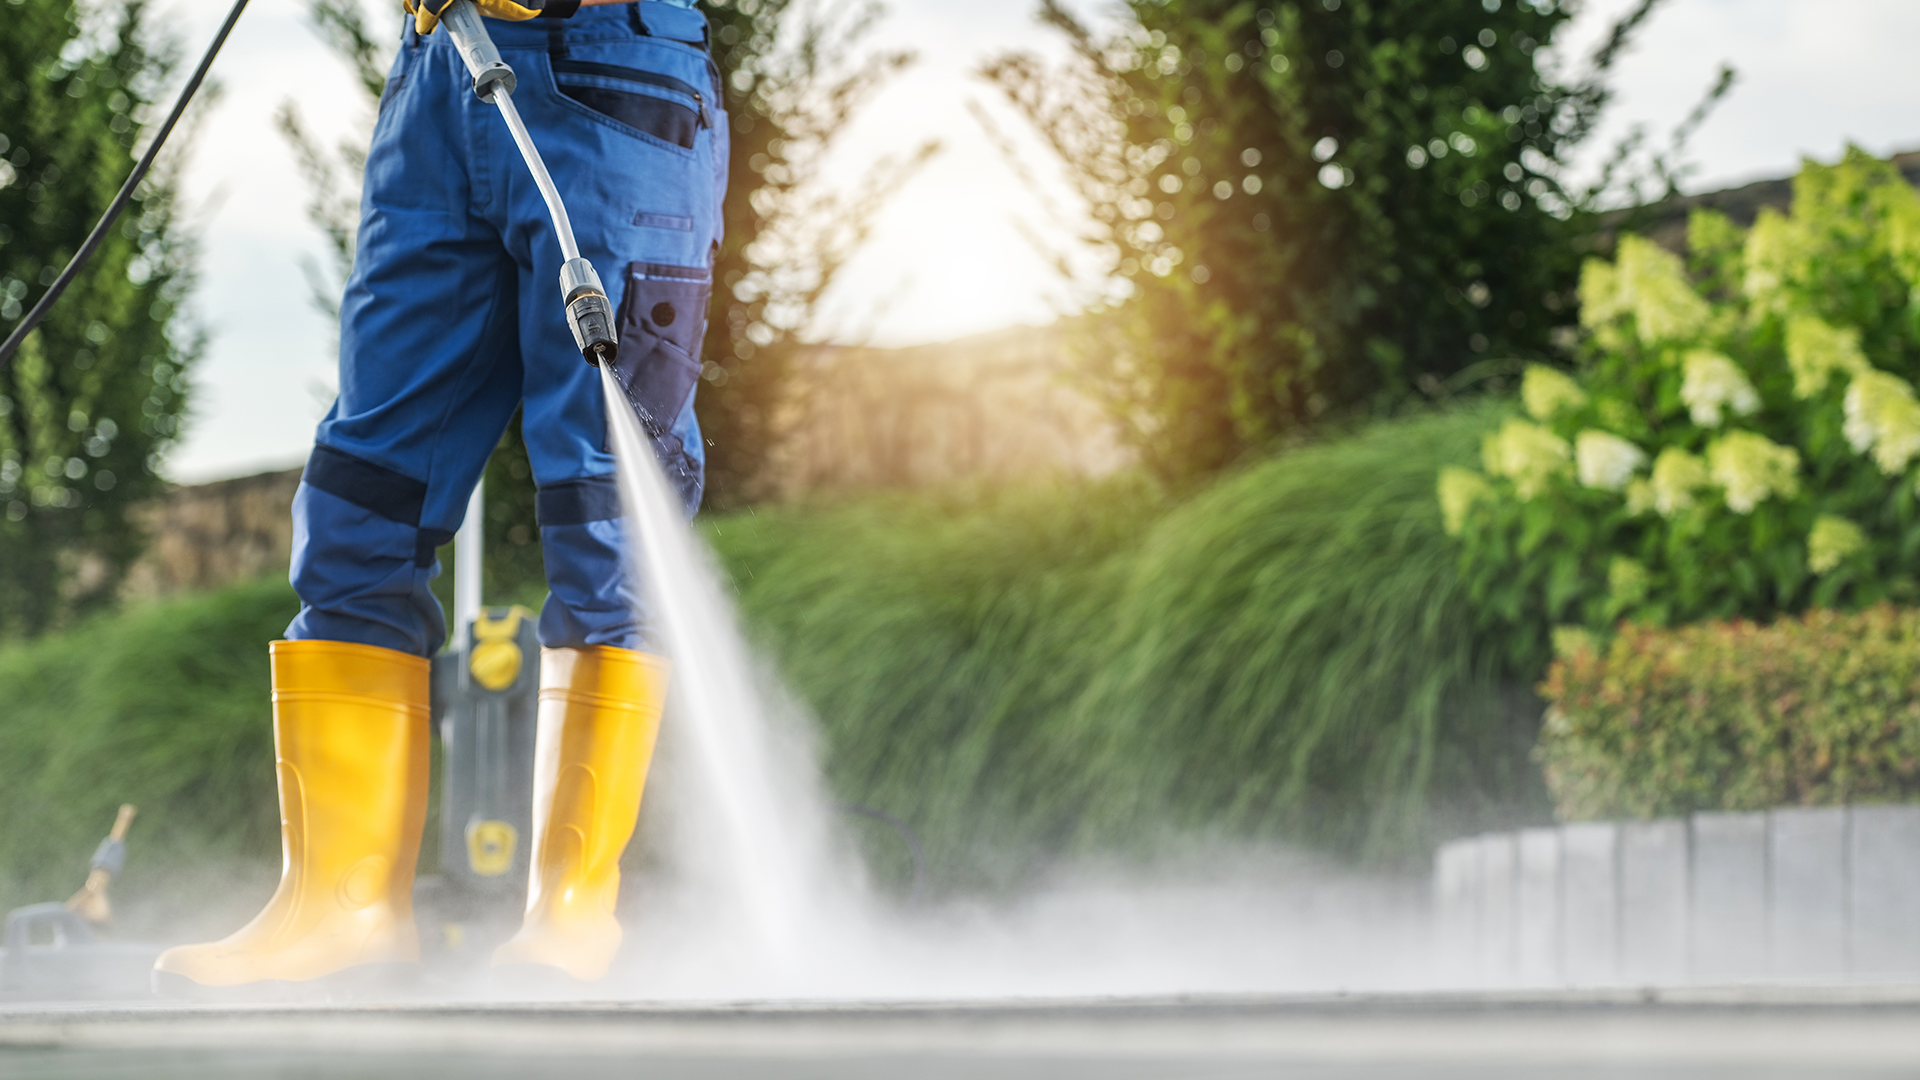
1. Get Moving
Before firing up the pressure washer, remove furniture, planters, and grills from the area. Sweep, blow or hose away leaves, dirt, and any loose debris. Sure, it can be a pain to move everything before you get started, but it will ensure that your pressure washing covers the entire area. There’s nothing more annoying than packing away the washer only to find a few spots that were missed.
2. Pressure Perfect
It’s tempting to crank the washer up and put on the power nozzle, thinking you’ll knock it out in record time. But extreme pressure can actually damage your pavers.
We recommend using between 1,500 and 2,000 PSI. Exceeding that can cause permanent damage to the surface texture, alter the color, and blast the sand out of the joints.
Always use a fan-tip nozzle rather than a pinpoint spray. A wider spray distributes the pressure evenly and reduces the risk of leaving marks or chipping.
3. Keep Your Distance
One of the biggest mistakes people make is holding the pressure washer too close to the surface. As a general rule, you should keep the nozzle about 12 to 18 inches away from the pavers. Start farther away and gradually move closer until you find the right distance.
Common damage of holding the wand too close to the surface includes:
- Permanent streaks
- Etching the face of the pavers
- Removing the seal or finish on some products
- Creating uneven coloring
To achieve a consistent cleaning, use slow and overlapping passes while keeping the nozzle moving in a fluid, smooth motion. And if you’re cleaning a large area, divide the work into sections so you can check your work and adjust your technique if needed.
4. Protect the Joint Sand
The polymeric sand between your pavers is a crucial element in your hardscape installation. It locks the pavers together, flexes with changes in weather, reduces weed growth, and discourages insects from nesting between the joints.
If pressure washing is too aggressive, it can remove much of this sand, affecting the integrity of your patio, walkway, or driveway. If you notice that sand has been removed after you wash, it’s important that you reapply it or hire a professional to help you.
Skipping this step can lead to:
- Loose or shifting pavers
- Increased weed growth
- Ant infestations
- Water erosion beneath the pavers
5. Avoid Harsh Chemicals
Household bleach and acidic cleaners can discolor pavers, damage nearby plants, and weaken joint materials.
Instead, choose cleaners specifically formulated for concrete pavers and always follow the manufacturer’s recommendations.
If you’re treating grease, rust, leaf stains, or efflorescence, Techniseal offers a suite of cleaning products that are safe and effective.
6. Know When to Call a Professional
Most annual cleanings are well within the ability of homeowners. However, it may be worth hiring a professional if your hardscape has:
- Heavy oil or rust stains
- Sunken or uneven pavers
- Large areas of missing joint sand
- Extensive efflorescence
Professionals use commercial-grade equipment, specialized cleaners, and the proper techniques to restore the surface without causing damage.
A Little Maintenance Goes a Long Way
Your patio is designed to last for decades, but like any outdoor feature, it performs best with routine care. An annual cleaning, proper pressure washing techniques, fresh polymeric sand, and occasional sealing will keep your hardscape looking its best while protecting your investment.